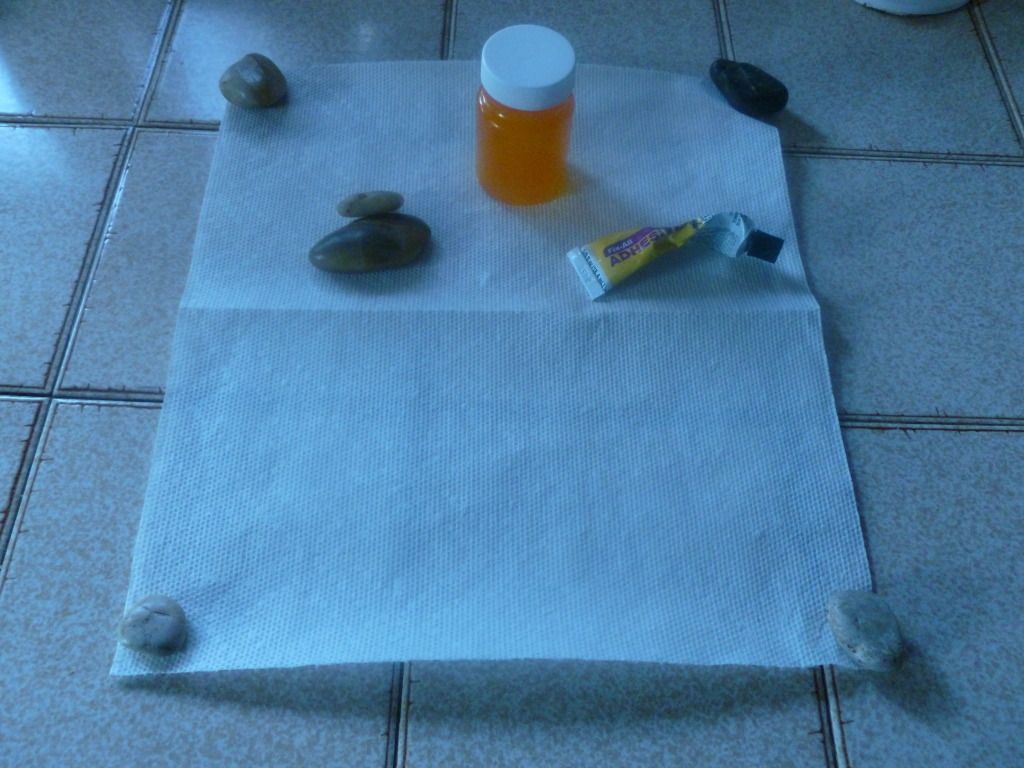
Search This Blog

Monday, May 28, 2012

Ring box

You will need:
- a small box
-filler foam (mine came as packaging when I ordered a camera, foam lasted longer than camera)
- foot squared piece of velvet. (ac Moore has it)
-needle and thread matching color of velvet
-wood stain and sealer

Warning, this can be a very frustrating craft project!!

Ok, here it goes.

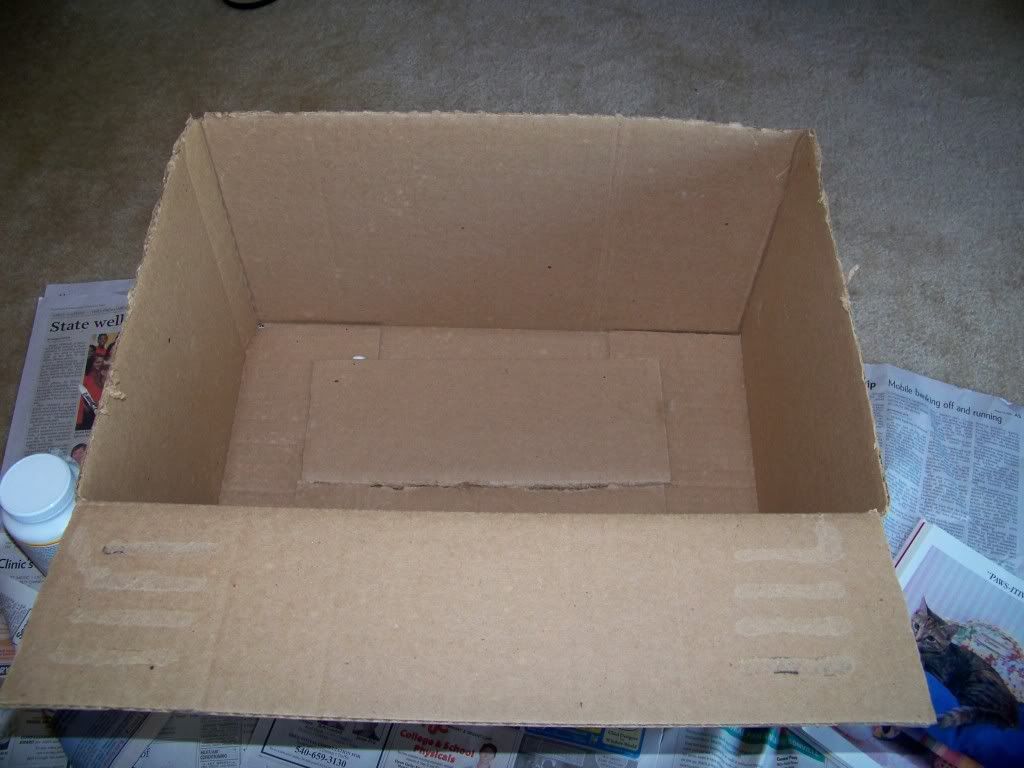
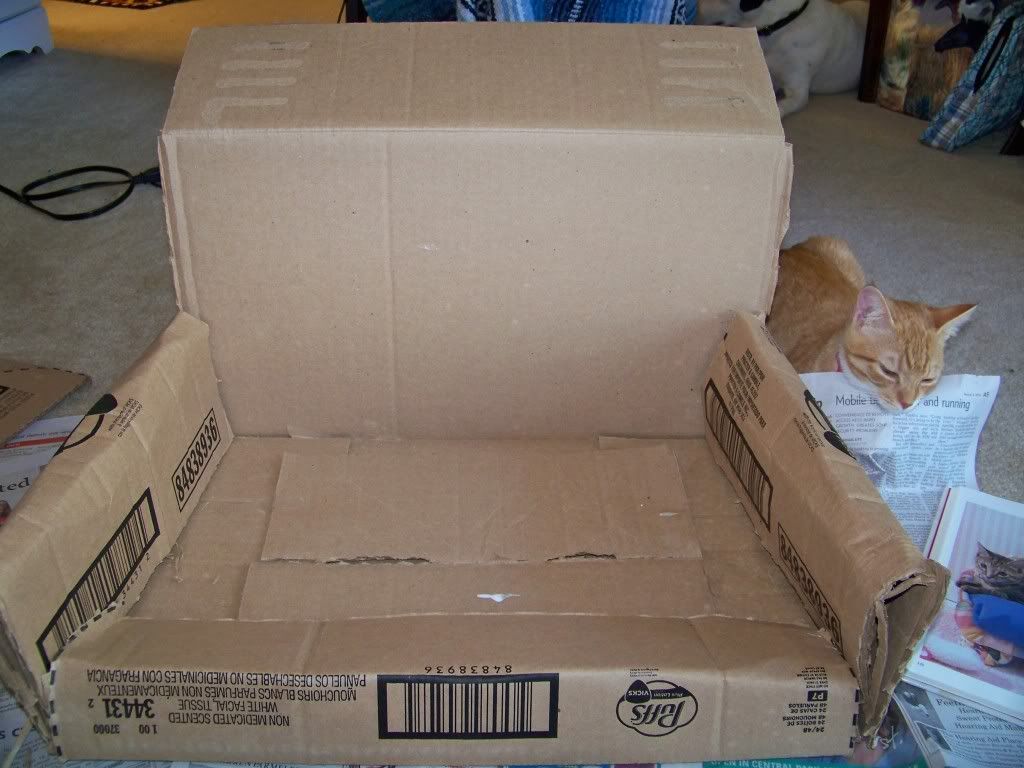
Cut your foam to fit inside your box. This will involve stuffing it in, cutting it, stuffing it, cutting it, and so on.

Once you finally get it the right size, cut one or two slits in the foam (I did two, because it's for the wedding).

Wrap the velvet around the foam, tuck the velvet into the ring slot(slit). Take your needle see the velvet to the bottom of the slot,the needle will come out the bottom of the slot. Repeat until the velvet is secure. Repeat with second slot if you're doing a two-holder.

Secure the rest of the velvet around the foam, stitch it to fit, and cut the excess.

Cram the foam into the box, see how it looks. Take foam back out, adjust if it needs it, if not,set it aside.

Stain the wood to your preference, seal it. Once dry, cram foam back in :)

admire!


**anything posted on this blog is for personal, non-commercial use only!!!!!**

Sunday, March 18, 2012

Coffee Cup Planter

I love Goodwill. A few months ago I went and found this adorable piggy coffee cup. I had no idea what to do with it, until my Spider Plant (aka airplane plant) started shootin' babies across my kitchen.
My fiance started singin' "Spider Pig, Spider Pig" (Simpson movie)

I didn't want to take a direct shot of his hiney,
 but his tail is the handle, and it curls at the top!

Wednesday, February 29, 2012

Acorn Pendant

This fall was like heaven for squirrels! Acorns EVERYWHERE. Sorry squirrels, I stole some! They're cute, versitile, and free.

My inspiration for this came from The handmade blog

The best part is all you need is:
-an acorn
-an acorn hat
-a jump ring
-a bead reamer
-Copper metallic paint
-Mod Podge!

Gather your acorns and hats.

fill the hat with glue

Press the acorn in nice and snug

use the bead reamer and ream a hole in the stem area of the acorn,
add your jump ring through the hole,
paint the acorn and hang it up somehow to dry
(I used salt and pepper shakers)

It takes several layers of paint, but once done, its adorable!
Now string it on chain, or make a pretty necklace.
A hemp necklace would look awesome as well!

**Anything posted on this blog is for non-commercial use only**

Pill bottle hide a key

Being a line-in caregiver, theres no shortage of empty pill bottles! They're soooo handy lookin', I can't just throw them away! Well I finally found a good use for them. Hide a keys! Because I'm forever locking myself out.

I followed this tutorial I found on eHow. It's so easy!

Here is how I made mine:

I got the rocks and glue from the Dollar Tree!

I glued two rocks to the lid, just 'cause :)

Tah-Dah!


*everything posted here is for non-commercial use only**


Glass marble magnets

While Stumbling, I saw this tutorial on 'not Martha' for these magnets, and I HAD to make some!

http://www.notmartha.org/tomake/marblemagnets/

(follow their tutorial, I was too excited, I forgot to take pics!)

I used some 'fix all adhesive', and I got everything from the wonderful Dollar Tree! And used pictures of a my mothers dogs, since these will be her mothers day present!

*anything posted on this blog is for non-commercial use only. It's purely for personal crafting purposes!**

Monday, February 13, 2012

Yarn letters

So in a little over a year, me an the mister will be getting married! And of course, we're DIYin it. Yes even the dress (my mother and I are doing the dress), I will post pictures of the dress after the ceremony :).

So after debating it, I decided to jump on the bandwagon of wrapping things in yarn. It's all over every craft site, so I have no idea who to credit the idea too! But whoever thought of it, you're a genius!


I made a pilgrimage to Hobby Lobby ( everything is a pilgrimage from my farm!) I picked up a wooden 'S', two in a pack for 50cents, and a wooden 'K', two in a pack for $1.50 (not fair!). Same size letters, different prices.

A few weeks ago I went to a craft fair and bought a plastic bin of assorted yarn for $10, great deal, since I could have comfortably fit myself in this bin! And in it was yarn that matched my bridesmaid dresses!!!!!


So I followed no tutorial, I winged it, and they came out alright, but I will probably read a few tutorials and try again before the big day!

**anything posted on this blog is for non-commercial use only!**

Sunday, October 9, 2011

Pet sofa bed

So after moving, you always have tons of boxes left over, right? And they sit in storage (or the corner) until you use them again, because theyre too handy to toss! Well I picked up Trash to Treasure, 2000 edition from a thrift store awhile ago, and theres a neat tutorial to make a cat bed out of a box. Intrigued? Its the perfect Saturday morning project! But I recomend using a stapler, I was out of staples, so I used Mod Podge and tape. If I make another one, I'm using a stapler!

You'll need:
-Mod Podge
-Stapler and staples
-Scrap Fabric ( about a yard total, I had some laying around from that purse I never made)
-A cardboard box. Bigger the critter, bigger the box. My Jack Russel could fit in the box I chose.
-Newspaper to cover your work area.
-Batting or an old towel/blanket
- If you want it to have feet, you will also need 4 spray can caps, and some stuffing to round them out.
-Needle and Thread
Here is my box. Cut off all flaps, unless you have a short sided box, then leave one long-end flap

                                             Piper is making sure I'm doing it correctly.

Like this. I ended up cutting off all the flaps. The bottom of mine wasn't complete, it had a gap, so I glued/taped the flaps to the bottom to make it super sturdy.
Cut slits in the sides down to about 3" from the bottom of the box, and fold down the sides. Staple or glue where the top of the fold meets the bottom most part of the box. Piper fell aslee, apparently helping is very exhausting.
         Cover it with towel/batting, Staple/glue that down. And then cover that with fabric.

Glue your seams, it dries clear, so be generous with it.
                                                                Let it dry completely.
Make a pillow. Then stand back and admire!


I'd love to see your version of this! If you make it, post me a link in comments :)


**anything posted on this blog is for non-commercial use only!**